Assignment 0
Assignments | | Links:

This is a short assignment to mainly help you set up your local environment for developing iOS apps. All steps described below should already be covered in the lecture, so it won’t take too much time for you to go through them.
Stage 1
Prepare the environment and download the compatible version of Xcode.
In this course, we will focus on developing iOS apps targeting iOS 15. We will go through several new APIs and technologies introduced in recent years.
Due to this, Xcode 13 is required, including the necessary SDK for developing iOS 15 apps.
To install Xcode 13, you need a Mac running macOS 11.3 or later. For full detail, you can refer to Apple’s official Xcode 13 release note here.
Once you have a compatible version of macOS, you can install Xcode 13 directly from Mac’s App Store. Or, you can use this link.
Stage 2
Get familiar with Xcode and set up a Hello World project.
In this stage, your goal is to set up a Hello World project to make sure you have a ready version of Xcode 13.
Create the project
After installing Xcode, open Xcode to create the project. You will first see a welcome page like this:
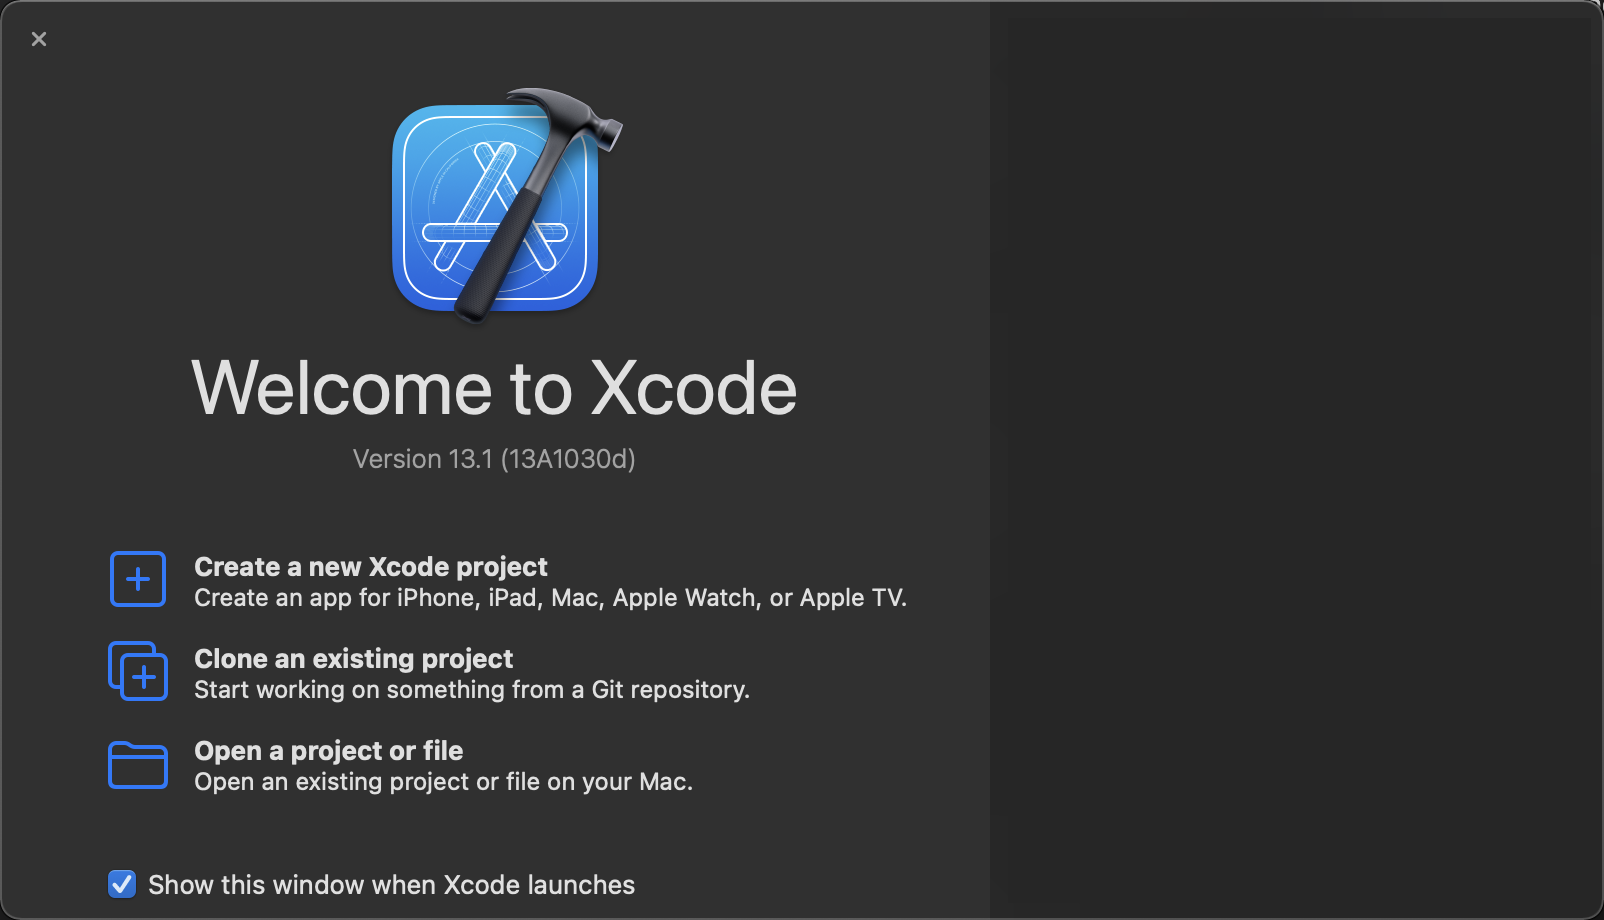
Be sure to check whether the version number listed below the icon is Version 13.x.
Creating the project by clicking Creating a new Xcode project.
Choose the right template
Then, you will see a popup to let you choose a template. We will majorly focus on iOS dev, so select
iOS -> Appand click next.Configure project settings
Choose an arbitrary name and organization identifier for your app. Make sure
Interfaceis set toSwiftUI, andLanguageis set toSwift.You don’t need to check
Use Core DataandInclude Tests, as we likely won’t cover these topics in this course.Save your project to the corresponding folder.
You will be prompted to save the project into a folder in the next window. Just pick the folder you cloned from GitHub and save your project here.
Stage 3
Program a basic view displaying your name and student id.
After creating a project, you will see the Xcode open up the project for you. Locate the file ContentView.swift, and edit it.
Simply add a VStack, and include both your name and your student id in it.
It might look like this:
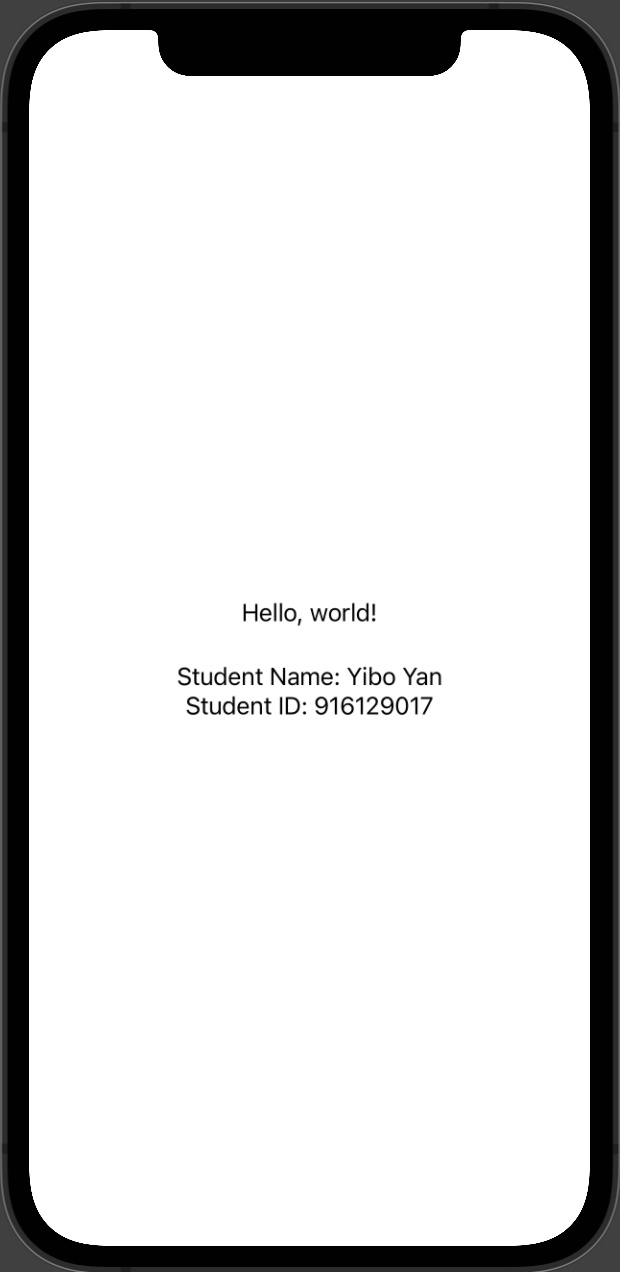
It doesn’t matter how you organize information and layout the view, as long as we can easily identify your name and student ID.
Stage 4
Submission: Push your code to GitHub.
After finishing all steps described above, take a screenshot of your preview or simulator screen and save it as preview.jpg into your repository’s root directory.
Then, push the code to GitHub. The MOST IMPORTANT last thing is submitting the url link of this repository to corresponding Canvas assignment. After that, You are all set!
The final file structure should look like this:
